Polishing stainless steel is a common task in manufacturing, fabrication, and everyday maintenance – but doing it correctly makes a significant difference in both appearance and performance. From removing scratches to achieving a mirror finish, the polishing process must be systematic, controlled, and based on real material behavior.
This guide explains how to polish stainless steel using proven methods commonly applied in workshops and production environments. It is written for engineers, technicians, buyers, and anyone responsible for stainless steel surface quality.
Table of Contents
Why Stainless Steel Polishing Matters
Stainless steel polishing is not only cosmetic. A properly polished surface can:
•Remove surface defects and welding marks
•Improve corrosion resistance by reducing surface roughness
•Make cleaning easier and more hygienic
•Deliver consistent visual quality for commercial and industrial products
Understanding how and why each polishing step works helps avoid rework and inconsistent results.

Step 1: Identify the Stainless Steel Finish and Condition
Before polishing, inspect the surface carefully and define the final finish you want.
Common Stainless Steel Finishes
•Brushed finish – visible grain lines, widely used in appliances and architectural panels
•Satin finish – smooth, low-gloss surface for food and medical equipment
•Mirror finish – highly reflective, decorative, or display-grade surface
Also confirm the material grade. 304 stainless steel polishes easily and is widely used, while 316 stainless steel requires slightly more effort but offers better corrosion resistance.
Step 2: Clean Stainless Steel Before Polishing
Surface cleaning is essential. Any oil, dust, or residue left behind will be pressed into the metal during polishing.
Recommended Cleaning Method
•Use a neutral, non-chlorinated degreaser
•Wipe with a lint-free microfiber cloth
•Finish with isopropyl alcohol to remove fingerprints
•Dry completely before sanding or buffing
This step is critical when working with polished stainless steel surfaces or visible parts.
Step 3: Remove Scratches by Sanding
If the surface has scratches, sanding is required before polishing.
Sanding Grit Selection
•Light scratches: 600–800 grit
•Medium scratches: 320–400 grit
•Deep scratches: 240 grit, then step up gradually
Key sanding principles:
•Sand with the grain for brushed finishes
•Use progressive grits—never skip steps
•Inspect the surface under angled light before moving on
Proper sanding is the foundation of all successful stainless steel polishing.
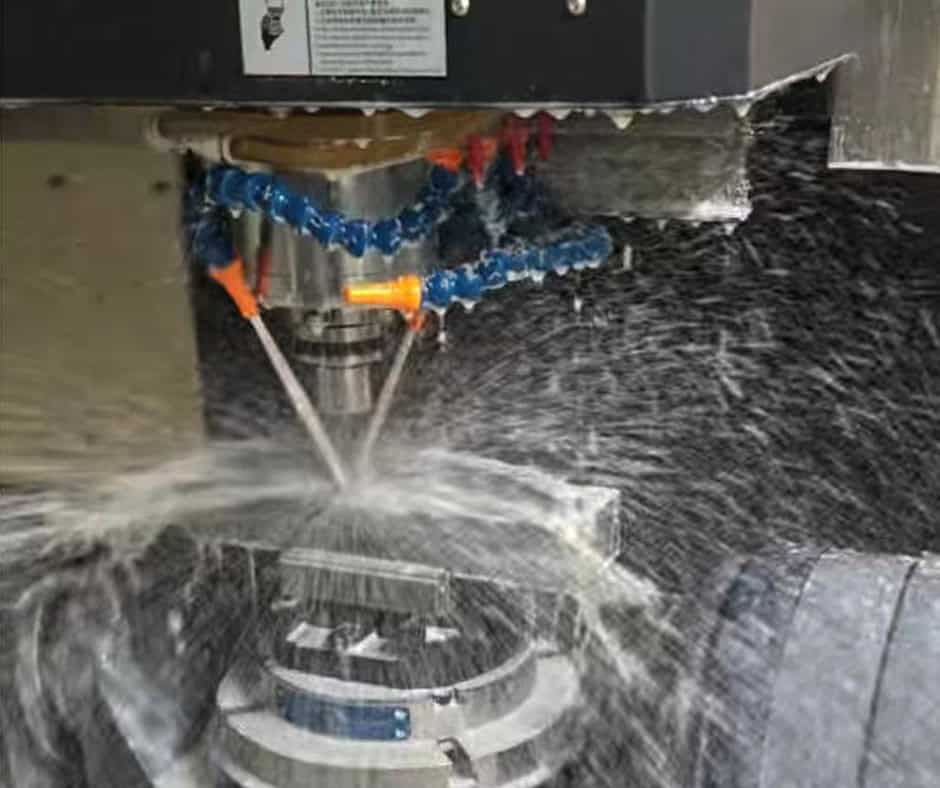
Step 4: Buff and Polish Stainless Steel
Once sanding is complete, polishing compounds and buffing wheels are used to restore shine.
Basic Polishing Process
•Start with a firm wheel and cutting compound
•Apply light, even pressure
•Keep the wheel moving to control heat
•Switch to a soft wheel and finishing compound for final gloss
•Clean the surface between compound changes
This method works for both machine polishing and careful hand polishing stainless steel.
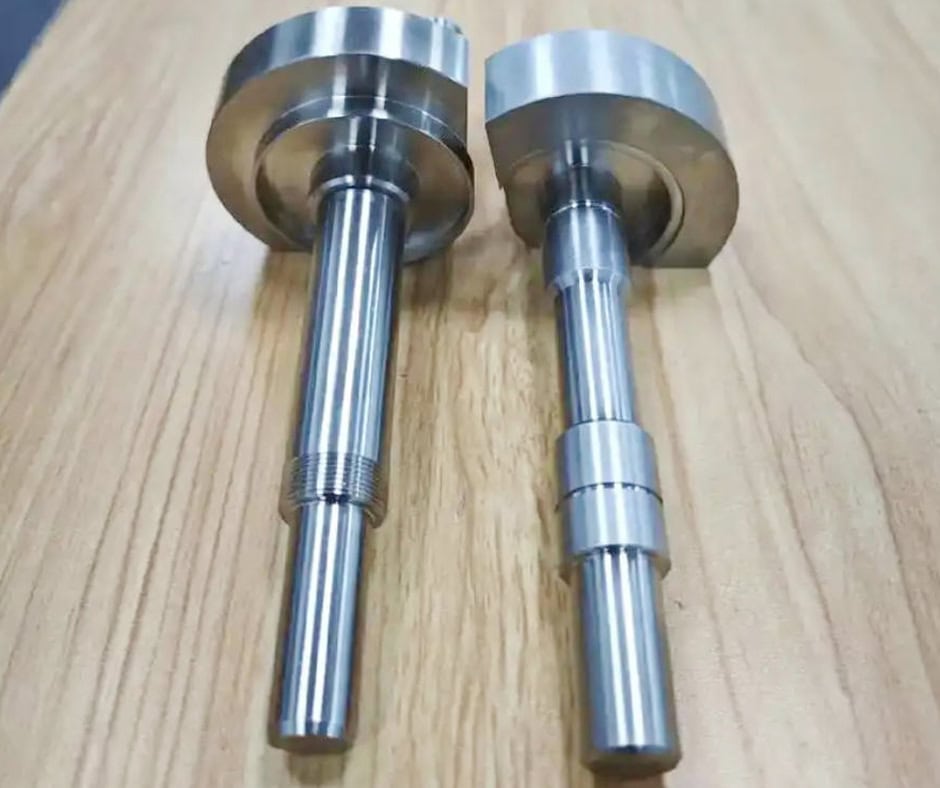
Step 5: How to Achieve a Mirror Finish
To mirror polish stainless steel, attention to detail is essential.
Mirror Polishing Workflow
1.Wet sand progressively up to 2000–3000 grit
2.Buff with a cutting compound until clarity appears
3.Finish with a soft wheel and fine compound
4.Inspect thoroughly for haze or swirl marks
A true mirror finish reflects clearly and evenly, with no visible sanding lines.
Step 6: Final Cleaning and Surface Protection
After polishing, remove all compound residue and protect the surface.
Best Practices
•Wipe with a clean microfiber cloth
•Use a stainless steel polish or protective coating
•Avoid bleach or chloride-based cleaners
•For critical applications, consider passivation to enhance corrosion resistance
This step helps preserve the polished stainless steel surface over time.
Step 7: Hand Polishing vs Machine Polishing
| Method | Typical Use |
| Hand polishing | Small parts, watches, sinks, touch-ups |
| Bench buffer | Flat panels, cookware, rails |
| Polishing machine | Large parts, production volumes |
Choosing the right tool improves consistency and reduces surface damage.
Step 8: When Professional Polishing Is Recommended
Outsourcing stainless steel polishing may be the better option when:
•Parts have complex geometry
•A uniform mirror finish is required
•Surface appearance affects product value
•Time, tooling, or skill is limited
Professional finishing ensures repeatable quality and reduces risk.
Inspection and Ongoing Maintenance
After polishing:
•Inspect under multiple lighting angles
•Check edges and corners carefully
•Re-polish small defects early to avoid full rework
Routine maintenance with soft cloths and mild cleaners helps polished stainless steel maintain its appearance longer.
About This Guide
This article is based on practical stainless steel surface finishing experience, common industry practices, and standard workshop processes. The methods described are widely used across fabrication, prototyping, and manufacturing environments where appearance and surface quality matter.
For critical applications, always validate processes with material specifications and safety data sheets.
Final Thoughts
Knowing how to polish stainless steel correctly saves time, reduces waste, and delivers reliable results. By following a structured process – cleaning, sanding, polishing, and protecting – you can achieve consistent finishes from brushed to mirror-grade stainless steel.