Brass is a beautiful metal, but it doesn’t stay shiny forever. Over time, exposure to air, moisture, and handling causes brass to darken, dull, or develop green corrosion. The good news? Cleaning brass doesn’t have to be complicated – or risky.
In this guide, you’ll learn how to clean brass safely, using proven methods that protect the surface, preserve patina when needed, and avoid common mistakes that lead to permanent damage.
Table of Contents
Step 1: Identify What Kind of Brass You’re Cleaning
Before choosing any brass cleaner, you need to know what type of brass you have. This step prevents accidental damage and is especially important for antique or decorative items.
Solid Brass vs. Brass-Plated Metal
•Magnet test: If a magnet sticks, the item is brass-plated steel, not solid brass.
•Color check: On a hidden spot, a gentle scratch with a wooden toothpick should reveal a consistent golden color on solid brass.
Brass-plated items require extra-gentle cleaning. Aggressive cleaners or abrasion can remove the thin brass layer completely.
Lacquered vs. Unlacquered Brass
Many modern brass items are coated with a clear lacquer to prevent tarnish.
•If the surface looks glossy and doesn’t tarnish evenly, it’s likely lacquered.
•A cotton swab with acetone on a hidden area can confirm this – softening indicates lacquer.
Important: Lacquered brass should only be cleaned with mild soap and water. Acids and polishes can strip the coating.

Step 2: Start with the Gentlest Brass Cleaning Method
When it comes to cleaning brass, gentle is always best.
Basic Brass Cleaning (Safe for Most Items)
This method works for:
•Light dirt and fingerprints
•Lacquered brass
•Brass hardware and fixtures
What you need:
•Warm water
•Mild dish soap
•Microfiber cloth
How to clean brass safely:
1.Mix a few drops of dish soap with warm water.
2.Wipe the brass gently with a damp cloth.
3.Rinse with clean water.
4.Dry immediately with a soft towel.
Often, this is all you need. If the brass still looks dull or dark, move to targeted tarnish removal.
Step 3: Clean Tarnished Brass with DIY Solutions
If your brass has visible tarnish, simple household ingredients can work very well—when used correctly.
Vinegar and Salt (For Unlacquered Brass Only)
This is one of the most effective DIY brass cleaner methods.
Steps:
1.Mix 1 cup white vinegar with 1 teaspoon salt.
2.Apply with a soft cloth or briefly soak small items (5–10 minutes max).
3.Rinse thoroughly.
4.Neutralize with a baking soda and water wipe.
5.Dry completely.
This method works well for cleaning tarnished brass, but never use it on lacquered or plated items.
Lemon and Baking Soda (Gentler Alternative)
•Mix lemon juice with a small amount of baking soda.
•Rub gently with a soft cloth.
•Rinse and dry.
This is a good option for natural brass cleaning and spot treatment.
Ketchup (Quick Fix for Light Tarnish)
Yes – ketchup works due to mild acids.
•Apply a thin layer.
•Leave for 5–10 minutes.
•Wipe clean, rinse, and dry.
Best for brass door handles, knobs, and small decorative items.
Step 4: Use Commercial Brass Cleaner Carefully
Commercial products like Brasso, Flitz, or Wright’s Brass Cleaner are effective, but they should be used with restraint.
Best practices:
•Use only on solid, unlacquered brass.
•Apply a small amount with a soft cloth.
•Do not over-polish—this removes metal over time.
•Remove residue from crevices.
Commercial brass cleaner and polish products are best for:
•Heavily tarnished brass
•Routine maintenance (occasional use)
They are not ideal for antiques where patina adds value.
Step 5: Cleaning Brass by Item Type
Different brass items need slightly different care.
Cleaning Brass Hardware (Door Knobs & Handles)
•Remove hardware if possible.
•Wash with mild soap first.
•Use vinegar or lemon paste only if unlacquered.
•Dry thoroughly before reinstalling.
Cleaning Brass Lamps and Fixtures
•Unplug first.
•Avoid soaking or wetting electrical parts.
•Use mild soap for lacquered lamps.
•Spot-clean tarnish on unlacquered areas only.
Cleaning Brass Jewelry
•Avoid long soaks.
•Use mild soap and a soft toothbrush.
•Dry completely to prevent water spots.
Step 6: Protect Brass After Cleaning
Once clean, brass will tarnish again unless protected.
Wax Protection (Recommended)
•Apply a thin coat of microcrystalline or carnauba wax.
•Buff gently with a soft cloth.
•Reapply every few months.
Wax is reversible and ideal for brass hardware and decorative items.
Lacquer (Long-Term Protection)
For low-touch decorative brass, professional re-lacquering provides long-lasting protection. DIY lacquer is not recommended for valuable pieces.
Step 7: When DIY Brass Cleaning Is Not Enough
If you notice:
•Deep pitting or corrosion
•Flaking or missing brass plating
•Severe discoloration that won’t improve
…it’s time to stop.
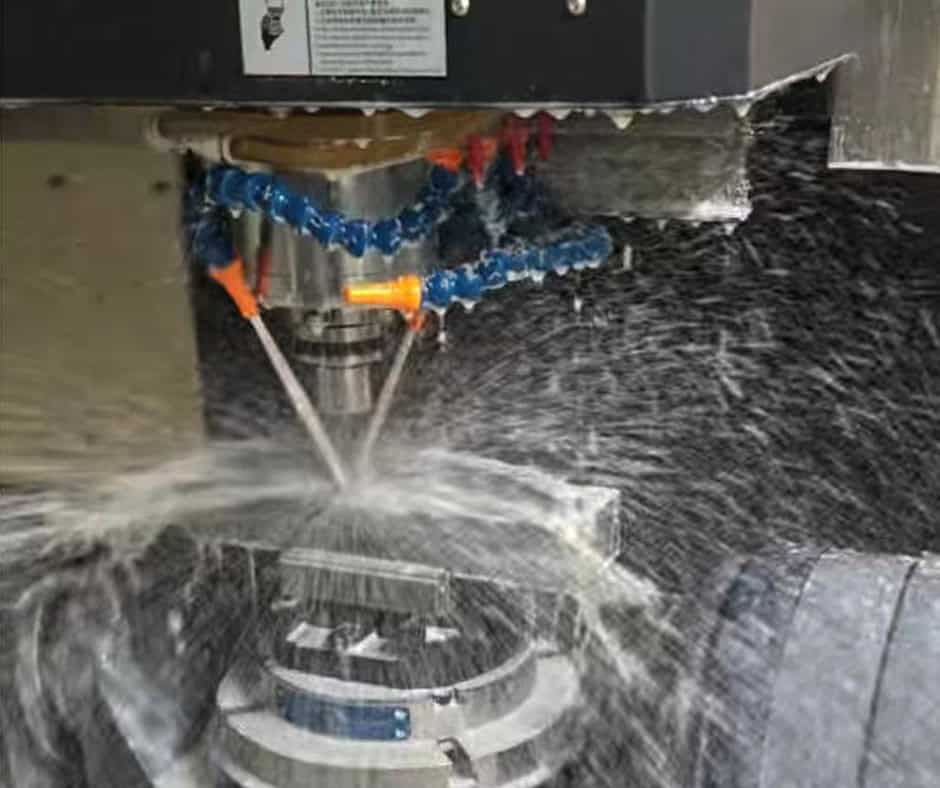
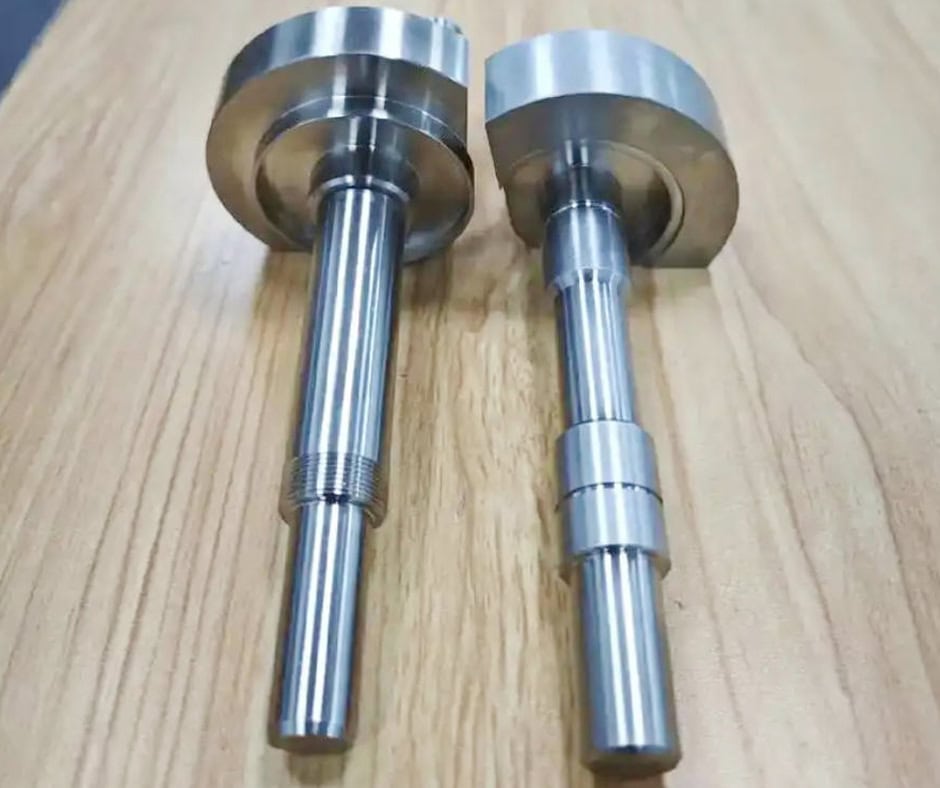
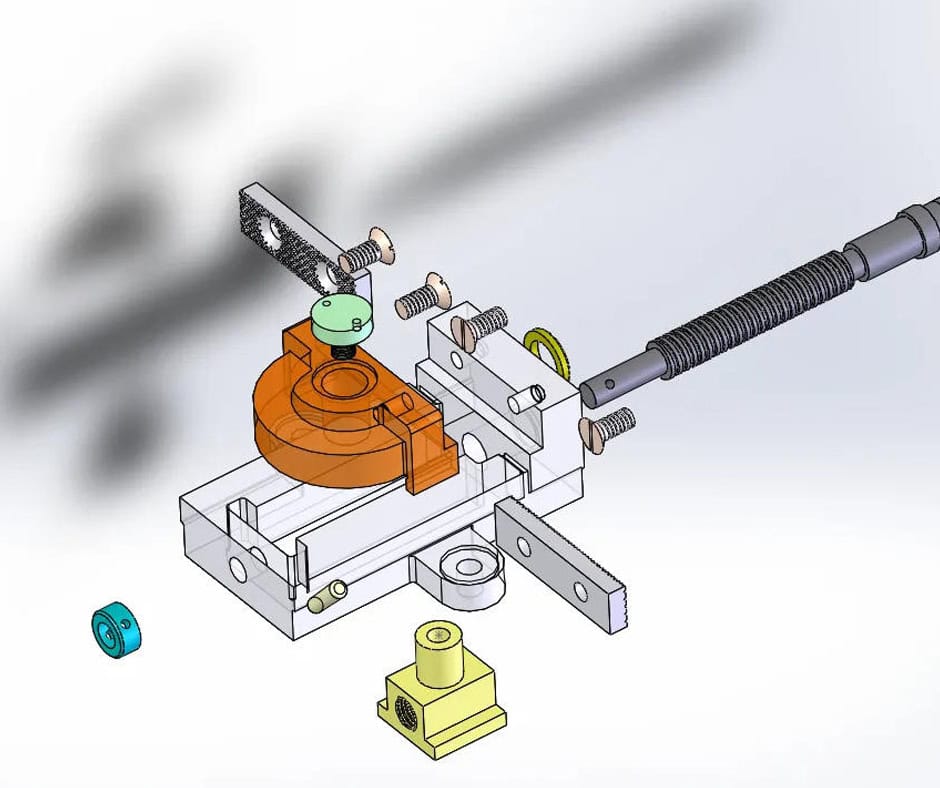
For valuable, antique, or precision brass parts, professional restoration or CNC-machined replacement components provide better, safer, and longer-lasting results—especially when appearance and fit matter.
Frequently Asked Questions About Cleaning Brass
•What should I not use to clean brass?
Avoid steel wool, wire brushes, bleach, ammonia, and abrasive pads. These can permanently damage brass.
•Can I clean brass without removing patina?
Yes. Use only mild soap and water. Avoid acids and polish.
•What is the best homemade brass cleaner?
For unlacquered brass, vinegar and salt or lemon juice with baking soda work well when used briefly.
•How do I keep brass shiny after cleaning?
Dry thoroughly and apply a thin coat of wax to slow tarnishing.
Final Takeaway
Cleaning brass doesn’t require harsh chemicals or heavy scrubbing. The key is knowing your brass, starting gently, and escalating only when necessary. With the right method, you can clean brass safely, preserve its character, and keep it looking great for years.