Introduction: Don’t Treat Acrylic Like Aluminum
Table of Contents
What Tolerance Can Acrylic Machining Achieve?
Let’s get straight to the numbers.
Standard CNC Acrylic Tolerances
| Feature Type | Achievable Tolerance |
| General dimensions | ±0.05 mm |
| Precision features | ±0.02 mm |
| Micro/critical features | ±0.01 mm (limited) |
Important:
±0.01 mm is not scalable across the entire part. It only applies to small, well-supported features under controlled conditions.
Tolerance by Part Size
| Part Size Range | Typical Tolerance |
| < 100 mm | ±0.02 mm |
| 100–300 mm | ±0.03–0.05 mm |
| > 300 mm | ±0.05–0.1 mm |
Larger parts = more thermal deformation + fixturing challenges.

Acrylic vs Metal: Precision Reality Check
This is where most expectations go wrong.
Comparison: Acrylic vs Aluminum CNC Machining
| Property | Acrylic (PMMA) | Aluminum (6061) |
| Standard tolerance | ±0.05 mm | ±0.02 mm |
| Thermal stability | Low | High |
| Rigidity | Low | High |
| Machining heat risk | High | Low |
| Dimensional stability | Moderate | Excellent |
Key Insight
If your design truly requires ±0.01 mm across multiple features, acrylic is likely the wrong material.
CNC vs Laser vs Injection: Which Process Is More Accurate?
Different processes = different precision levels.
Process Comparison
| Process | Typical Tolerance | Best Use Case |
| CNC Machining | ±0.02–0.05 mm | Functional, structural parts |
| Laser Cutting | ±0.1 mm | 2D profiles, fast cutting |
| Injection Molding | ±0.01–0.03 mm | High-volume precision parts |
Practical Takeaway
•CNC = best balance of flexibility + precision
•Laser = fast but less accurate
•Injection = high precision but high tooling cost
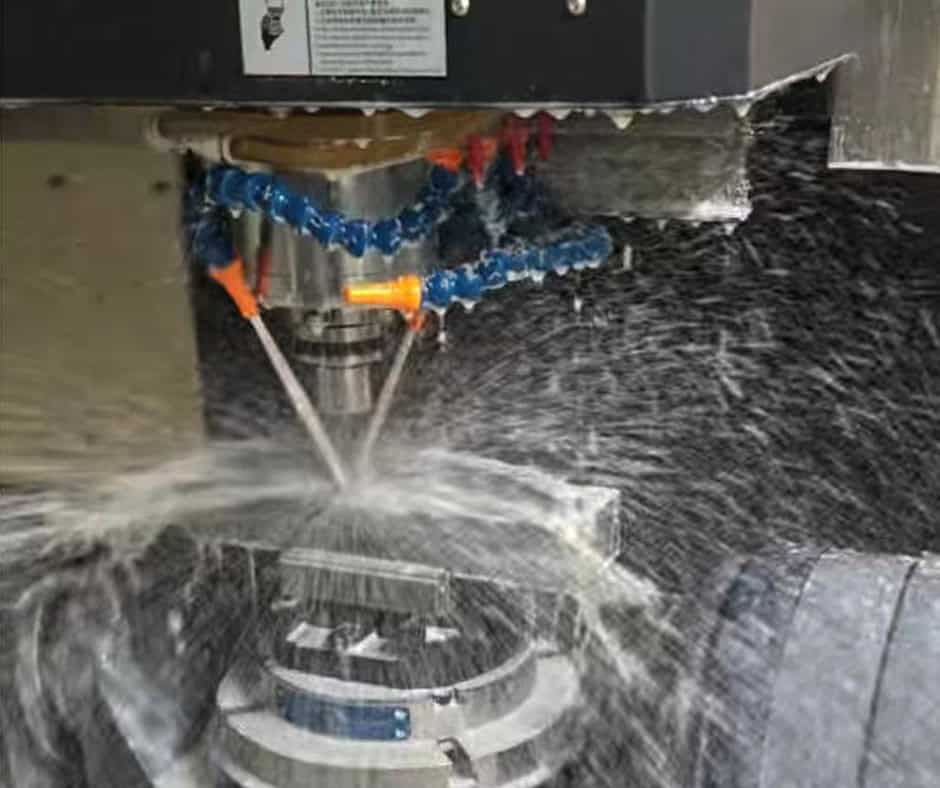
Why Acrylic Is Difficult to Machine Precisely
1. Heat Is the Biggest Enemy
Acrylic softens at relatively low temperatures (~80–100°C).
During machining:
•Tool friction generates heat
•Material starts to soften
•Edges deform or melt
Result:
•Dimensional drift
•Poor surface finish
2. Low Rigidity Causes Deflection
Thin acrylic parts:
•Bend under cutting force
•Bounce back after machining
Result:
•Out-of-tolerance features
•Inconsistent dimensions
3. Internal Stress Leads to Warping
Acrylic sheets often contain internal stress from manufacturing.
After machining:
•Stress releases
•Part warps slightly
Especially critical for:
•Large flat panels
•Optical components
Design Guidelines: How to Actually Hit Your Tolerance
This is where most projects succeed or fail.
1. Control Wall Thickness
| Feature | Recommendation |
| Minimum wall | ≥ 2 mm |
| Ideal wall | 3–5 mm |
👉 Thin walls = vibration + deformation
2. Avoid Over-Tolerancing
Not every dimension needs ±0.02 mm.
Better approach:
•Tight tolerance only for fit-critical features
•Relax others to ±0.05–0.1 mm
👉 This alone can reduce cost by 30%+
3. Use Radii Instead of Sharp Corners
•Internal sharp corners = tool stress + heat buildup
•Use standard tool radius (R0.5 / R1)
4. Plan for Polishing Impact
If your part needs:
•Flame polishing
•Vapor polishing
•Diamond polishing
Then:
Final dimensions will slightly change
Always leave tolerance allowance for finishing.
Surface Finish vs Tolerance: You Can’t Maximize Both
In acrylic machining:
•Better surface finish = more finishing passes
•More passes = more heat + material removal
Typical Surface Options
| Finish Type | Roughness (Ra) | Impact on Tolerance |
| Standard CNC | 1.6–3.2 μm | Minimal |
| Fine machining | 0.8–1.6 μm | Slight |
| Polished | <0.4 μm | Noticeable |
👉 Optical clarity often requires sacrificing tight tolerance slightly
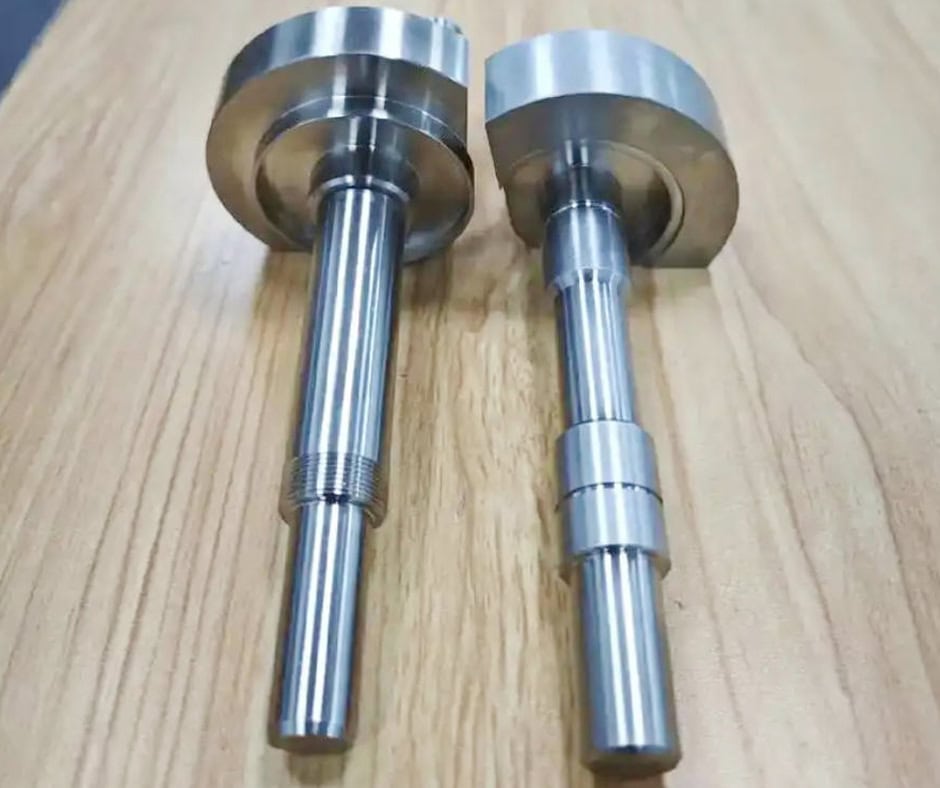
Real Applications: What Tolerance Do They Actually Use?
Case 1: LED Light Guide Plate
•Requirement: high light transmission
•Critical tolerance: ±0.02 mm
•Surface: polished
Problem:
•Heat causes edge deformation
Solution:
•Low-speed finishing + air cooling
•Post-polishing compensation
Case 2: Medical Transparent Housing
•Requirement: assembly fit + clarity
•Tolerance: ±0.03 mm
Challenge:
•Stress cracking after machining
Solution:
•Annealed acrylic material
•Reduced cutting stress
Case 3: Display Cover Panel
•Requirement: visual quality
•Tolerance: ±0.05 mm
Focus:
•Surface appearance > ultra precision
Cost vs Precision: What You Need to Know
Tighter tolerance = exponential cost increase.
Cost Impact
| Tolerance Level | Cost Increase |
| ±0.05 mm | Base cost |
| ±0.03 mm | +20–40% |
| ±0.02 mm | +30–80% |
| ±0.01 mm | +100%+ |
Why Cost Goes Up
•Slower machining speed
•More finishing passes
•Higher rejection rate
•More precise fixturing
Common Problems (and Fixes)
Edge Melting
Cause: High cutting temperature
Fix: Optimize speed + sharp tools
Cracking
Cause: Internal stress
Fix: Use annealed acrylic
Warping
Cause: Stress release
Fix: Symmetrical machining + stress relief
Dimension Drift
Cause: Heat accumulation
Fix: Step machining + cooling intervals
FAQ: What Buyers Actually Ask
Can acrylic be machined to ±0.01 mm?
Yes, but only for small, controlled features.
Not realistic for full-part tolerance.
Why does acrylic warp after machining?
Because internal stress is released during material removal.
Does polishing affect tolerance?
Yes. Especially flame or vapor polishing.
Always leave allowance.
Is CNC better than laser for precision?
Yes. CNC is significantly more accurate and stable.
What’s the best tolerance to specify?
For most applications:
👉 ±0.05 mm is optimal balance of cost and performance
Final Thoughts: Precision Is a Design Decision, Not Just a Machining Capability
Acrylic machining is not about pushing machines to the limit.
It’s about aligning:
•Material behavior
•Design intent
•Manufacturing strategy
The best results come from realistic tolerances, not aggressive ones.
At SzCrealink, we regularly support acrylic machining projects across optical, medical, and industrial applications. From prototype to production, we help optimize tolerance, cost, and manufacturability from the start — not after problems appear.
If you have drawings or are unsure about tolerance feasibility, it’s always better to review early. A small adjustment in design can save significant cost later.